
How to Spot Fake Mines Predictor Apps and Avoid Scams
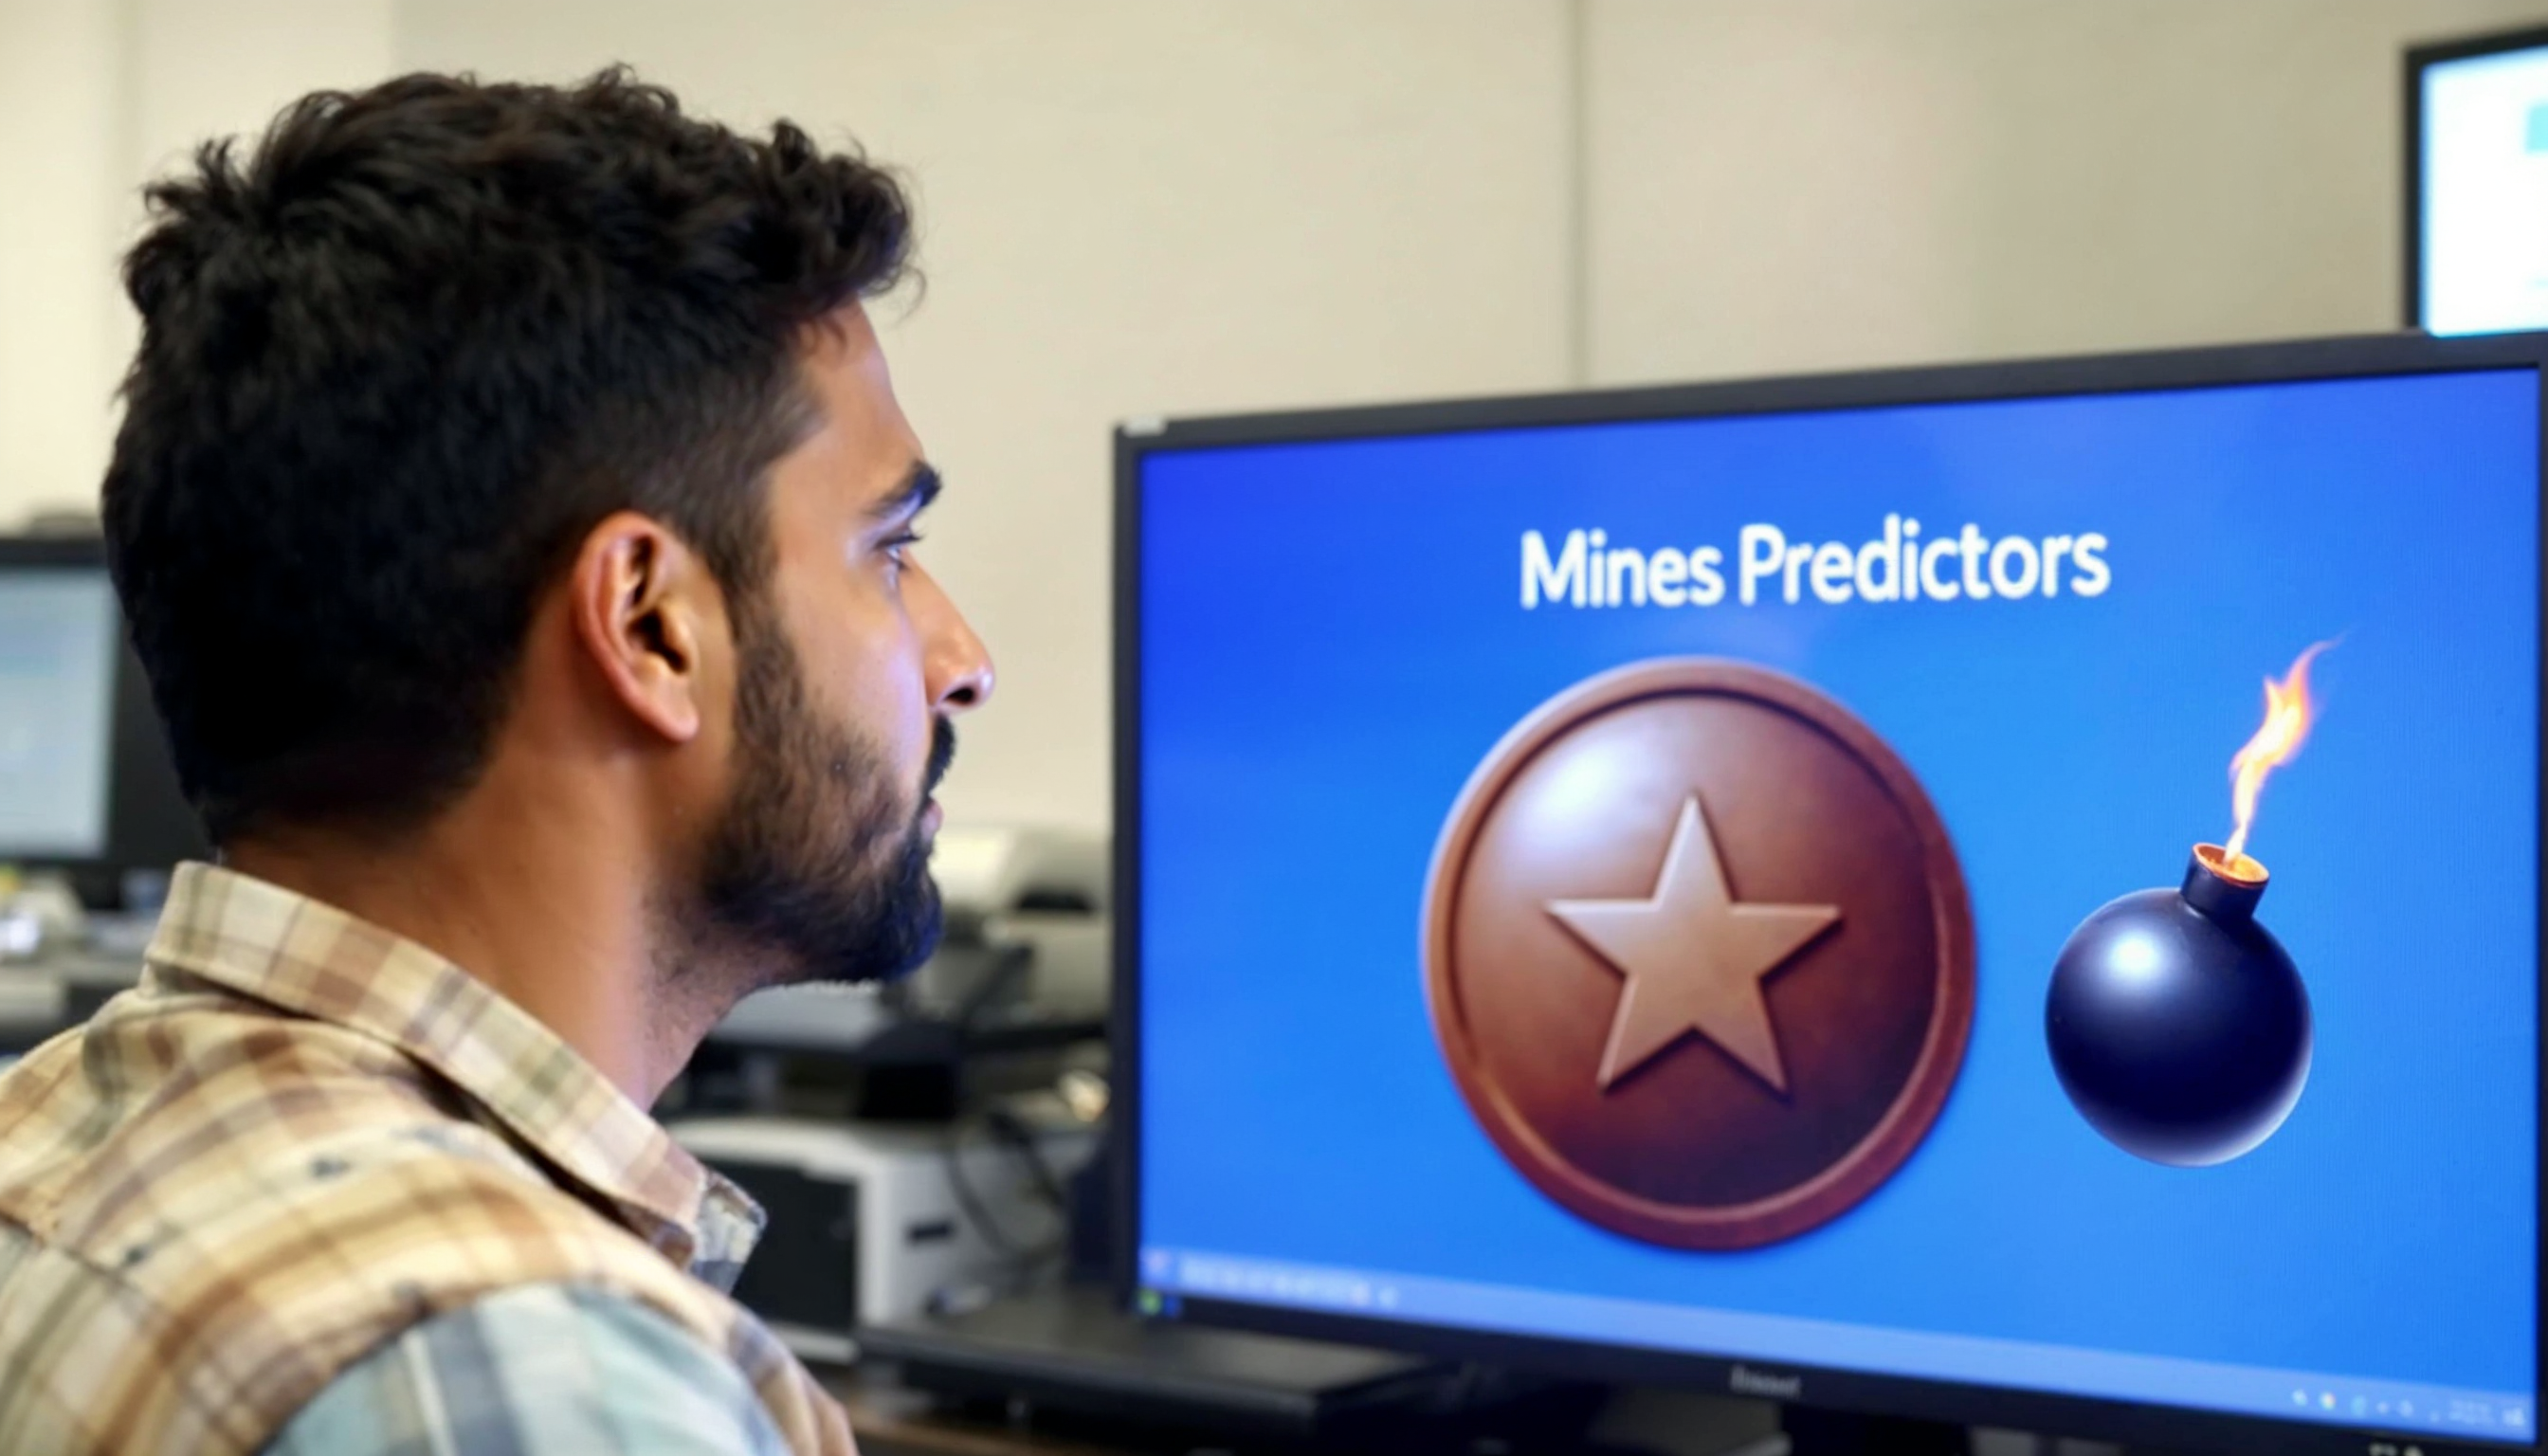
The digital age has given birth to a wide variety of apps, each promising something unique. One such category that has gained popularity recently is the “mines predictor apps.” These apps claim to predict results for online mining games or gambling platforms, offering users an easy route to wealth. However, with the growth of this niche, there has been a...